
Are you an avid DIY’er like I am?
Can’t bring yourself to spend several hundred bucks on a new chandelier for the formal dining room you only really use twice a year?
Here’s a cheap, easy, and fast way to update your existing light fixture for a whole new look at a tiny little fraction of the cost!
Here’s what our dining room looked like when we bought our house.
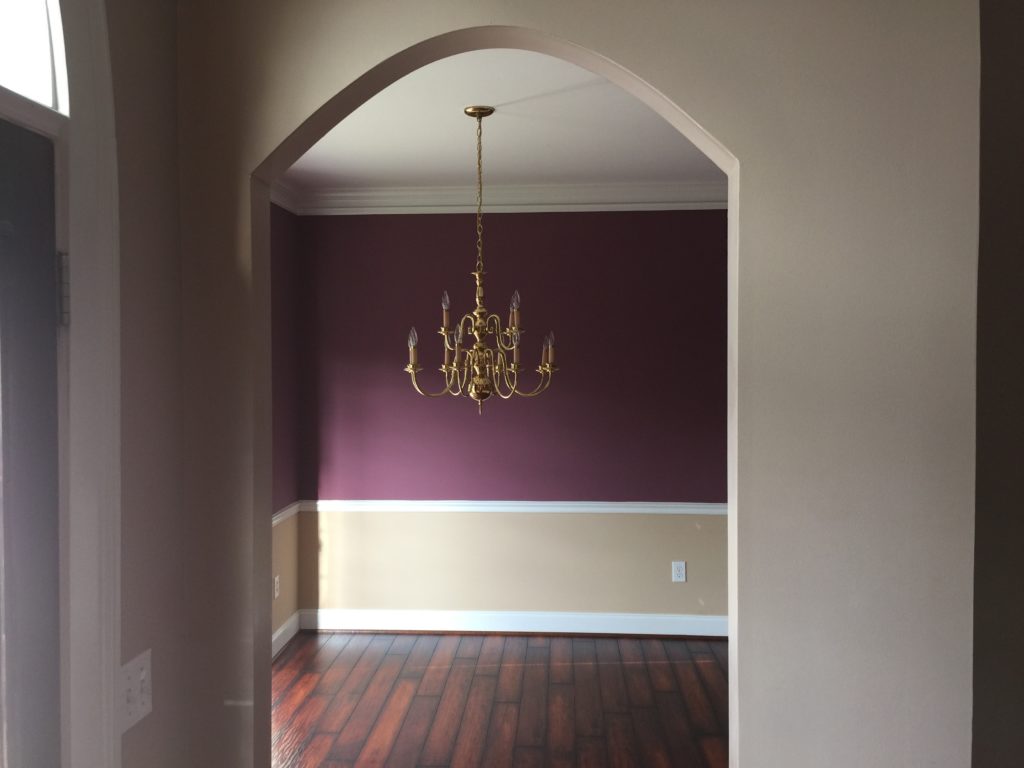
It was purple, I kid you not, and had that hideous brass light fixture that was oh-so-popular in 1996. We painted the room before we even moved into the house but the dining room rarely gets used at Chez Carr. We have a ginormous island in the kitchen with many barstools so that’s where we eat 99% of the time. So the brass chandelier kept dropping down, down, down on the honey-do list.
Then one weekend my parents and my sister’s family all came to visit simultaneously. I looked at that brass chandelier and shuddered on more than one occasion. Finally, I couldn’t take it anymore!
So off Hubby and I went to the big home improvement stores. Of course the chandeliers that I liked best were upwards of $300 and I just didn’t feel like spending that much on a room we rarely use. So we decided to give ours a makeover instead!
Supplies Needed
- 1-2 cans of oil rubbed bronze spray paint with primer built in (or a can of primer and a can of spray paint)
- Those little lampshades made for chandeliers that clip on to the lightbulb
Time to Complete Project – less than one day
- Turn off the power and take the light down from the ceiling. I held the light from the bottom to take the pressure off the chain while Hubby unscrewed the two whole bolts that attach it to the ceiling. Next he unscrewed the little plastic caps that connect the wires together and lowered the whole thing down to the floor. (He’s also an engineer by trade so he knows what he’s doing.)
- Remove all the lightbulbs and pull out any small, detachable pieces. Ours had these little columns that are meant to look like a candlestick and the lightbulb is supposed to look like a flame. Dissassemble the plastic columns and the cups they sit inside. Set them aside.
- Find a place outside to hang the chandelier. We found a tree with a sturdy branch about 6’ off the ground. We wrapped the length of chain around a couple of times till it held fast.
- Then we painted it. Sprayed it, let it dry an hour or so, then sprayed it again to get any spots we missed. We let it dry outside overnight but it wasn’t necessary. We just got busy with dinner and kind of forgot about it.
- I put all the small pieces that hold the lightbulbs on a cardboard box and painted them as well. Do several light coats, letting it all dry well in between.
- Bring it all back inside and hang it back up. Took all of 10 minutes to reattach it to the ceiling. It’s not hard, I promise! It took longer to put the lightbulbs back in than it did to rehang the light fixture itself.
- I started Googling chandelier lampshades. I needed 12 and I really didn’t want to spend $100 on lampshades. So on a whim I went to Hobby Lobby and it just so happened to be 50% off day for lamps and lampshades! (I NEVER buy anything full price at Hobby Lobby. Wait a week and you can buy it 50% off and get twice as much!) They were only $5.99 to begin with and now they were less than $3 each so all 12 cost $35.94. Suh-weet!
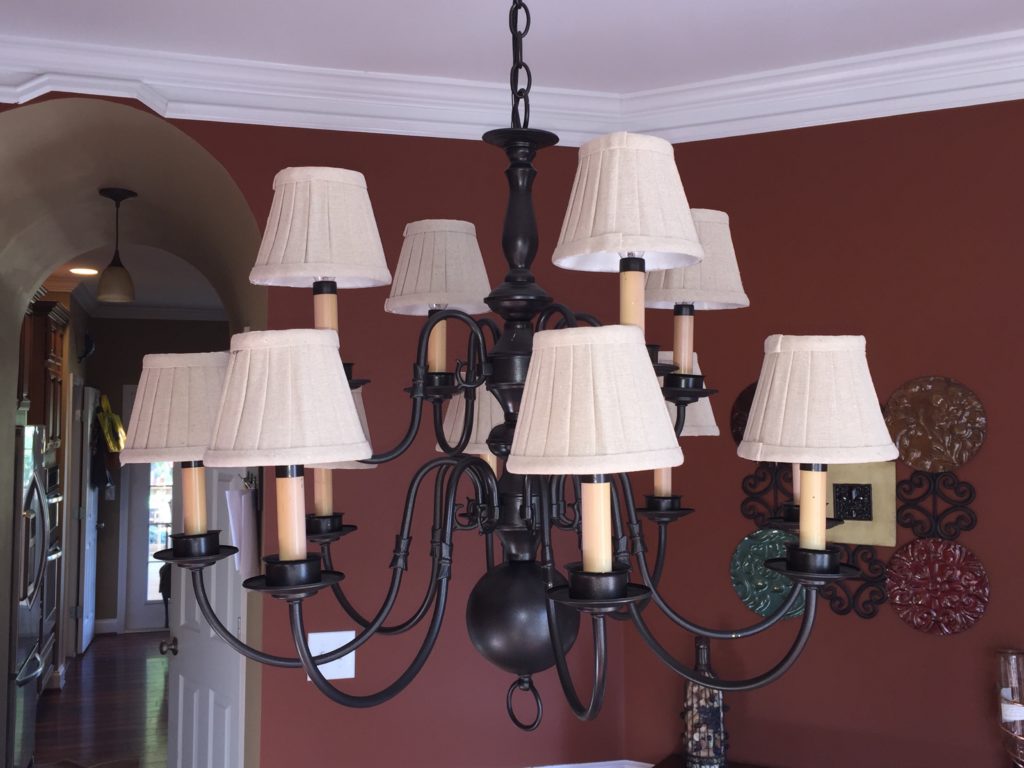
The shades clip onto the lightbulbs. You can even get plain paper shades and cover them with fabric, burlap, or scrapbook paper. I liked that idea but not the idea of doing that 12 times. So I stuck with the beige linen ones.
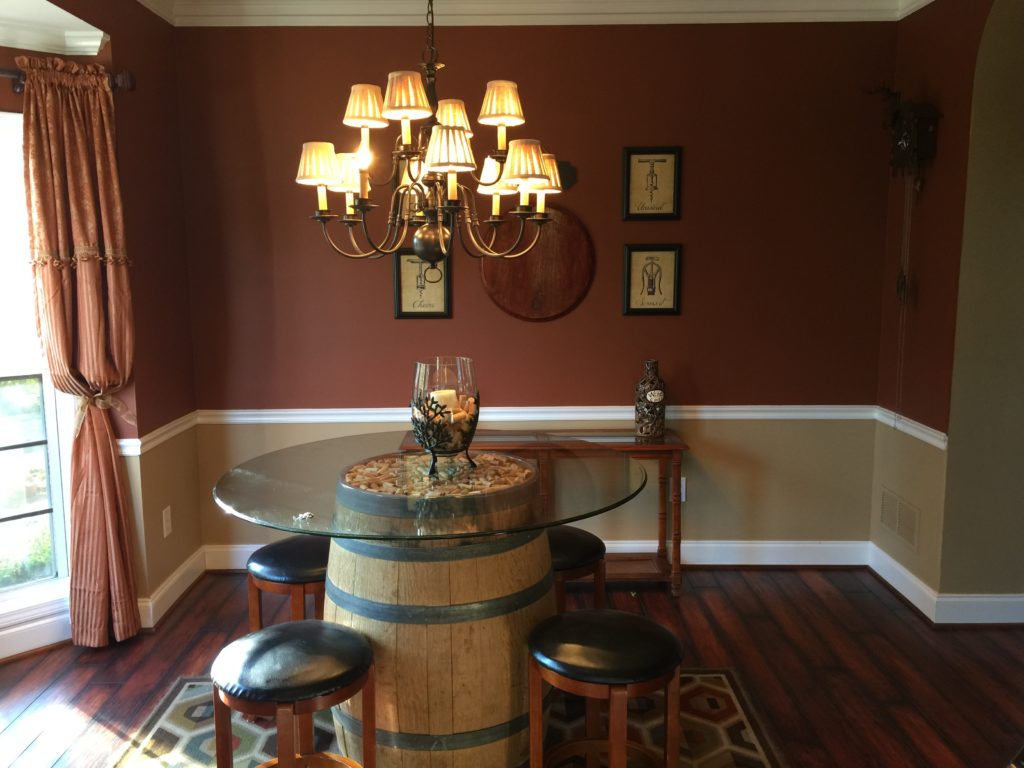
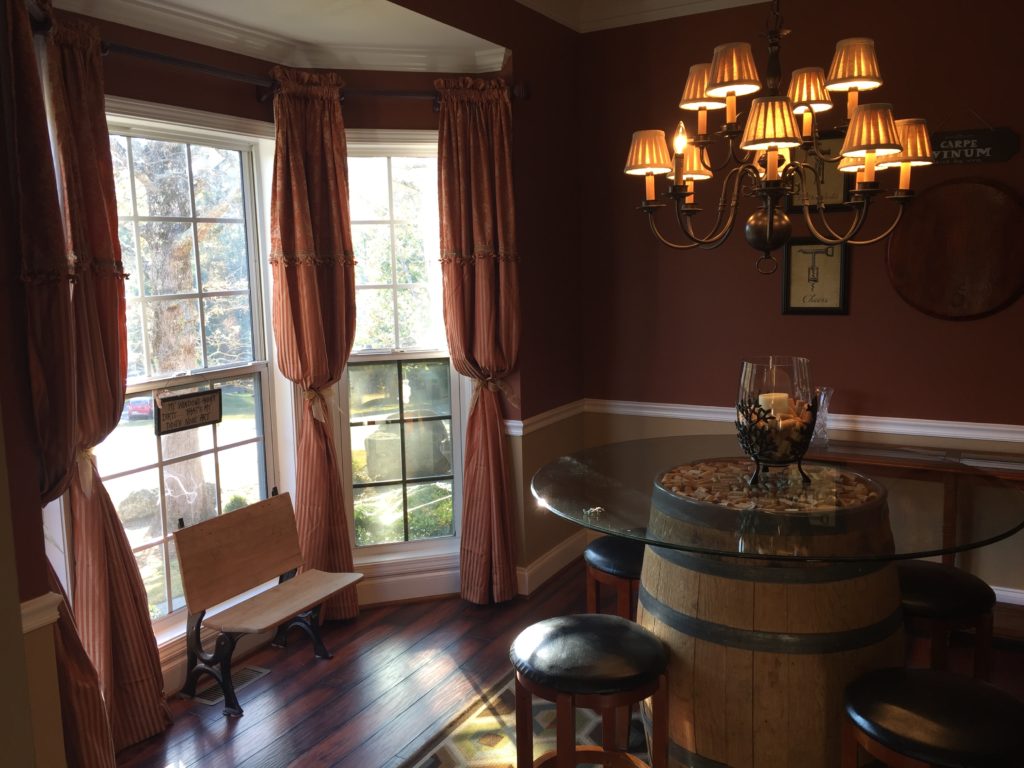
And what a huge difference! It’s still a bit ornate and fancy enough for a formal dining room, but a million times more contemporary looking. And since I don’t plan to ever touch it (other than changing bulbs and dusting it once every six months – I mean weekly! Because everyone dusts their chandeliers weekly, right?) I’m not worried about the paint scratching off.
I did have to touch up the paint once it was rehung because I’d missed a few spots. I just sprayed the paint onto a rag and dabbed a Q-tip in it to touch up the missed spots.
There are no affiliate links in this post but in case you want to know, these are the materials I used:
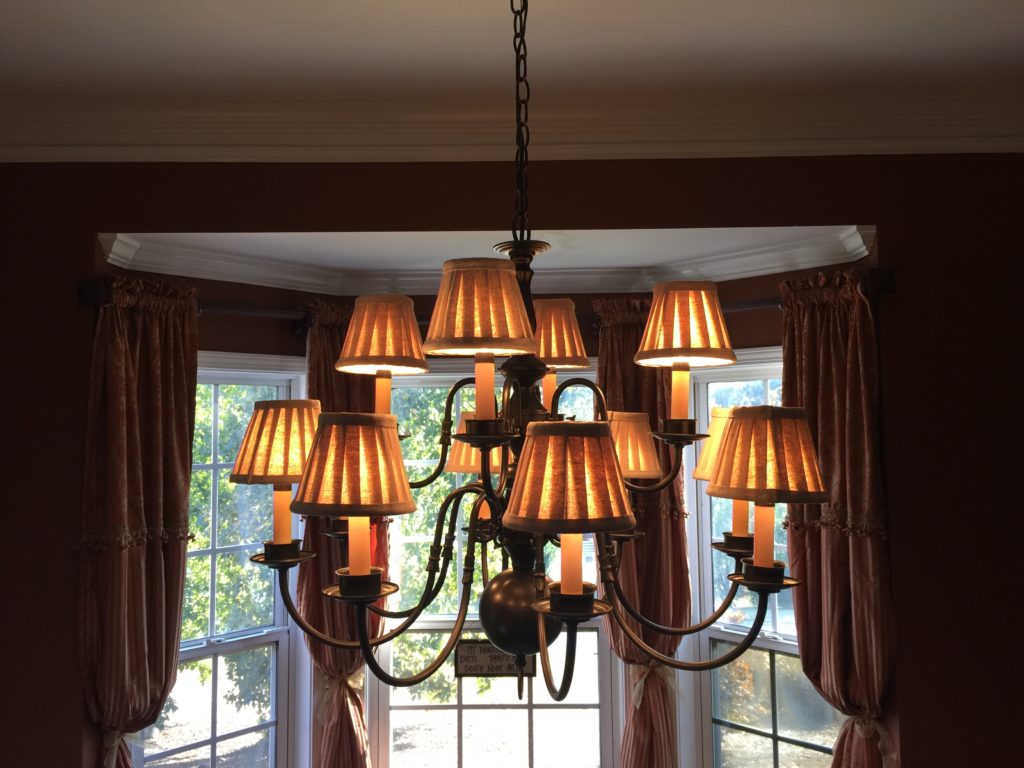
And to see the finished dining room, here are a few more shots:
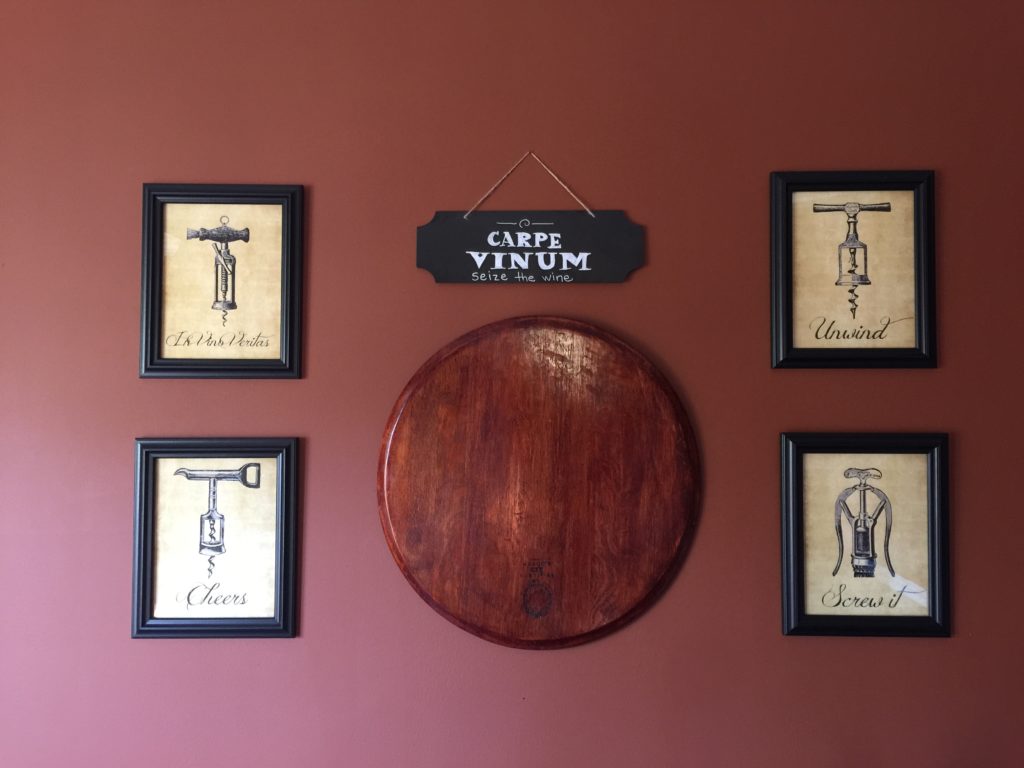
How great are these little signs?! This was a DIY project from KellyElko.com. She gives you the free printables and I printed them out on faux parchment paper, then framed them with document frames from Walmart. They’re 8.5″x11″ instead of 8×10 so I didn’t even have to cut the paper down.
My chalkboard sign was from Hobby Lobby and I used a chalk pen to write the text on the sign. I created the design on Canva.com, my favorite web site ever for creating signs and graphics. I had planned to trace it but ended up freehanding it because I didn’t have any tracing paper on hand.
The wine barrel lid hanging on the wall is from an actual wine barrel. We used to live in Napa and I won a wine barrel at an auction once. It used to be filled with red wine and it smelled so good! We’ve had it for about 5 years now. We took off the lid and used the barrel as the base for our dining table.
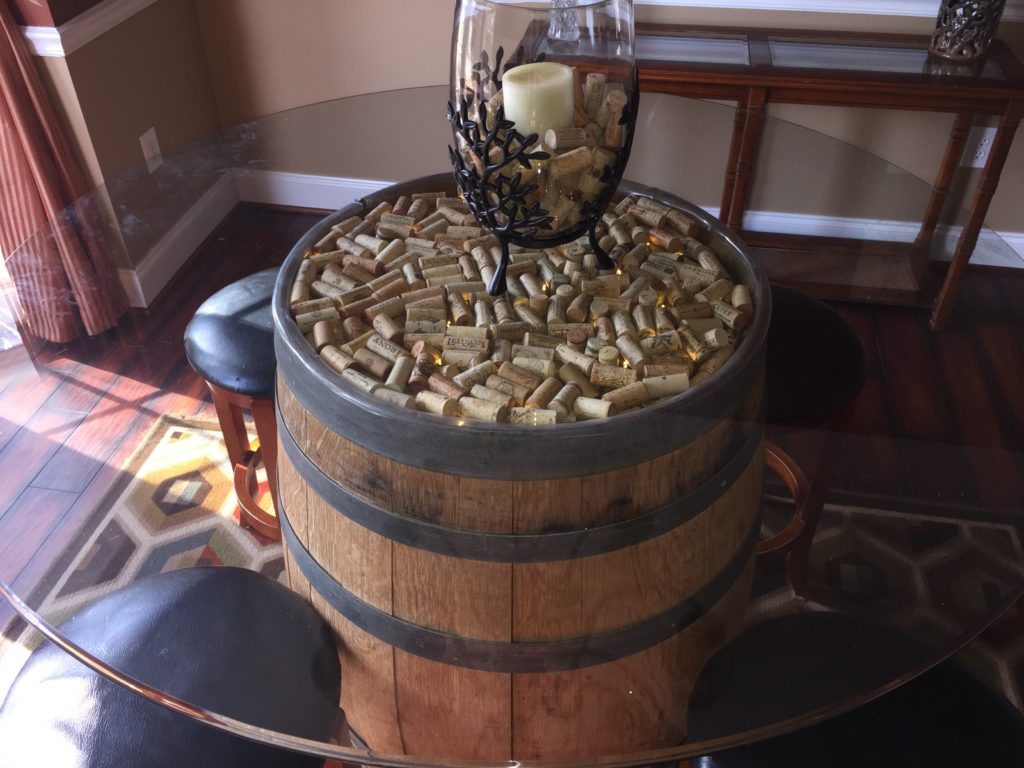
We filled the top of the barrel with corks (it’s only about 3″ deep) and put little twinkle lights in them. There’s a battery operated pack on the back side. Add a glass top 48″ wide and voila, instant wine themed dining room table!
In case anyone is thinking of trying this, I should note that this is not holding up very well. As it has dried out it has shrunk, so all the metal bands are loose and the barrel is wobbly. Someday we’ll get around to fixing it but today is not that day.
About the Author: The above article, DIY Brass Chandelier Makeover, was provided by Karin Carr, an authority on Cherokee County real estate and a leader in the field of real estate blogging. Karin has helped literally helped almost 200 families buy and sell homes since 2005. If you are in the market to BUY or SELL a home, she can be reached via email at [email protected] or by phone at 404-855-1807.
If you need help buying or selling outside of the Atlanta area, I can help you find a great Realtor®. Just ask!
Are you thinking of selling your home? I’m very good at marketing homes to sell quickly, and for more money. If you’re a first-time home buyer then you’ll be in good hands. I’ve helped countless first-time home buyers through the entire process of buying that first home! I have a real passion for helping folks buy and sell homes here in the great state of Georgia and I would love to connect with you!
I help people buy and sell real estate in the following north Georgia cities: Acworth, Ball Ground, Canton, Kennesaw, Woodstock, White, Roswell, Milton, Alpharetta, Dallas, Powder Springs, and the surrounding areas.